How to Manage MSA Settings & Templates
2. Click "Customisation"
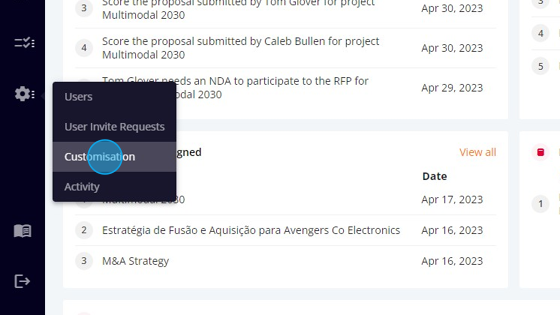
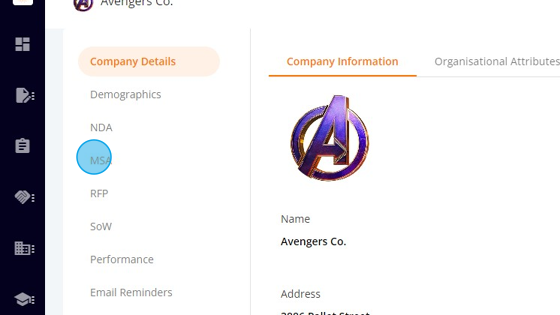
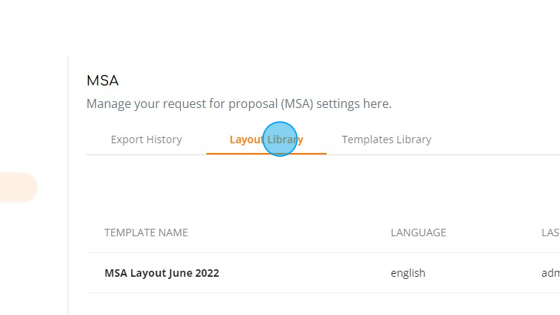
3. Click "MSA"
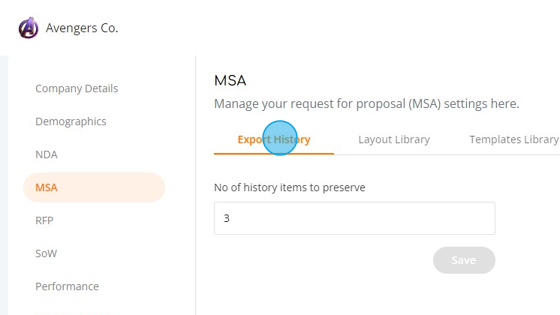
- Export History
- Layout Library
- Templates Library
I) EXPORT HISTORY:
II) LAYOUT LIBRARY:
a) Create new layout

2. Click "Create new layout"

3. Enter Template Name

4. Select Template Language

5. Enter the "Cover Page Content"

6. Enter the Header Content

7. Type the Footer Content

8. When you're done, click "Save"

The new template is added successfully
b) Create from existing MSA
1) Edit
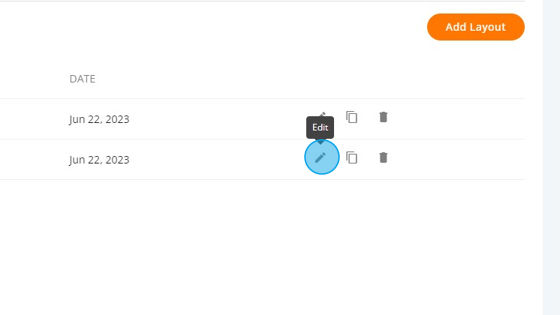
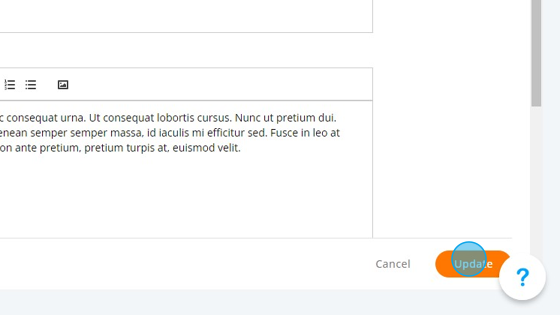
Change any information you want. In this example I changed the name of the Template:
When you finished the modifications, click "Update"
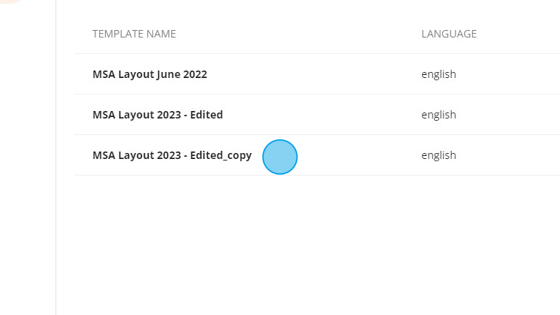
2) Copy
You can use the copy to create a new template based on another one:

A new template "MSA Layout 2023 - Edited_copy" is created:
3) Delete
A confirmation popup will show:
The layout was removed:
III) TEMPLATES LIBRARY:
a) Create new template
b) Create from existing MSA
1) Edit

Change any information you want. In this example I changed the name of the Template:
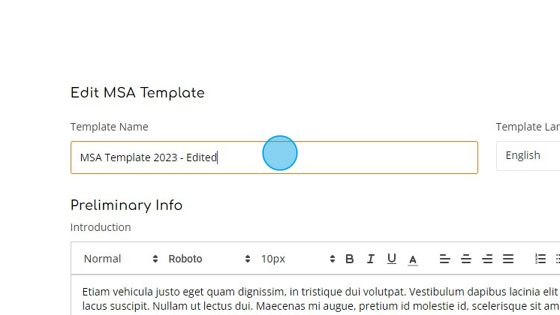
When you finished the modifications, click "Update"

The templated was updated:
2) Copy
You can use the copy to create a new template based on another one:
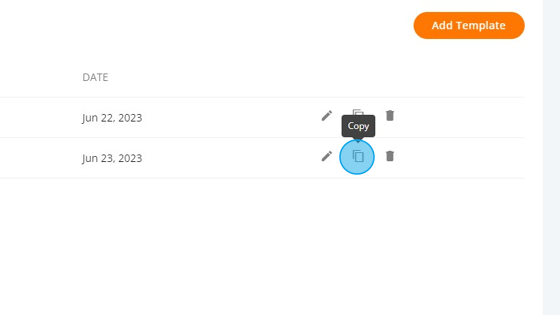
A new template "MSA Template 2023 - Edited_copy" is created:
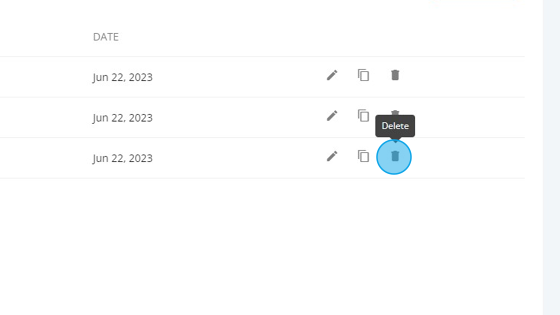
3) Delete

A confirmation popup will show:
The layout was removed:
Related Articles
How to Manage SoW Settings & Templates
To access the SoW Settings: 1. Click "Settings" 2. Click "Customisation" 3. Click "SoW" The SoW screen has 3 tabs: Export History Layout Library Templates Library I) EXPORT HISTORY: Here you can set the number of pdfs you can create for one SoW. ...How to Manage NDA Settings & Templates
To customize the NDA: 1. Click "Settings" 2. Click "Customisation" 3. Click "NDA" The NDA screen has 4 tabs: Settings Export History Layout Library Templates Library I) SETTINGS: If you think is necessary to require a NDA by default, mark the ...How to Manage RFP Settings & Templates
To access the RFP Settings: 1. Click "Settings" 2. Click "Customisation" 3. Click "RFP" The RFP screen has 5 tabs: Milestones Selection Criteria Export History Layout Library Templates Library I) MILESTONES: Here you can manage the RFP milestones: To ...How to Customize RFP's Settings, Layouts & Templates?
To customize the RFP: 1. Click "Admin" 2. Click "Customisation" Click "RFP": The first tab are the settings. Here you can customize the Compliance, the Milestones and the Selection Criteria. In the compliance section you have the option to toggle the ...How to Customize MSA's Layouts & Templates?
To customize the MSA: 1. Click "Admin" 2. Click "Customisation" Click "MSA": The first tab on the MSA is the Layout Library, where you can customize the MSA's Layouts: The second tab is the Template Library, where you can customize the predefined ...