How to create MSAs?
To create an MSA, click "Contracts":
Click "Contracts"
Here, you can manage all the contracts:
Select the Provider:
You can select from a consulting firm that your company already has a relationship with or a different one from the Consource Global Network (CGN):
Click "Next"
Select the Partner, the language, the layout and the template you want to use and click "Create MSA"
II) Going to the consulting firm profile and adding a MSA there.
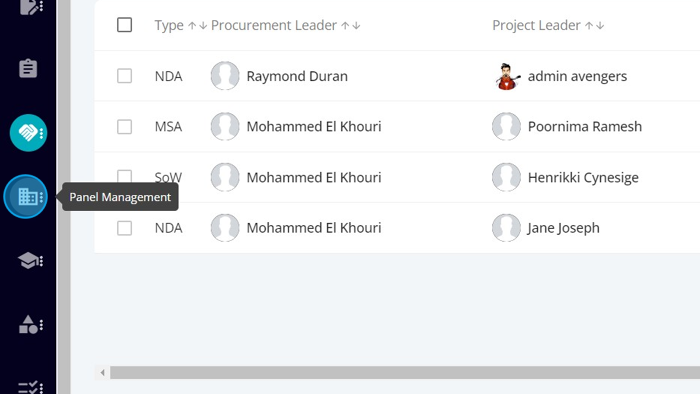
To access the company's profile page, click "Panel Management"
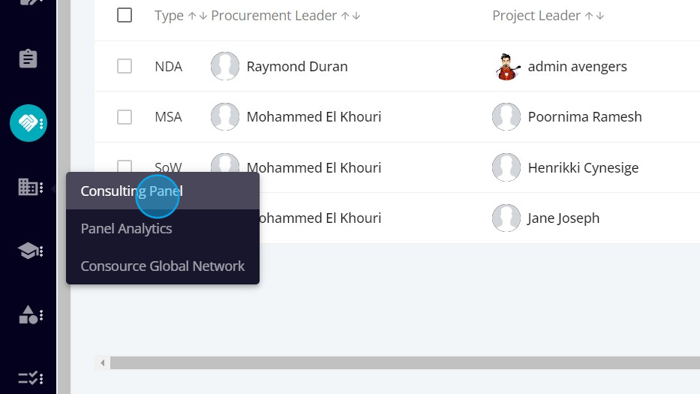
Click "Consulting Panel"
Click the company you want to see. "KPMG" in this example:
Click the "Contracts" tab.
You can see all contracts with KPMG:
Click "Contract", "Create MSA":
Select the Partner, the language, the layout and the template you want to use and click "Create MSA"
From here both options have the same process.
When you click "Create MSA", the partner will receive an email, informing them about the MSA:
The "Create MSA" screen has several tabs:
- Layout
- Teams
- Preliminary info
- Term & Termination
- Services
- Standards of Performance
- General Provisions
- Other Provisions
- Appendix
- Signatures
1) Layout
The Layout screen shows the layout you chose:
You can change the information in the layout, but it will only take effect if you save it using the button "Save":
At any time, you can preview the MSA by clicking the "Preview" and at the end, you can export the MSA by clicking "Export".
The "Clock" icon on the right shows the Export History, where you can see who exported the MSA and when. You can view, download or delete each exported version.
You can also change the layout if you want. Click the "Change Layout" button on the right side of the screen:
Choose a new Layout and click "Change MSA Layout"
The new layout is loaded:
2) Teams
The second tab is Teams. Where you can see who is part of the MSA:
If you want to add more people to the MSA, Click "Add Team Members":
Select the team member and click "Submit"
The new team member is added
3) Preliminary info
Here you can enter the preliminary info: Introduction, Terminology & Acronyms and Definition:
On the "Definitions" section, you can define the terms you think are relevant to the MSA. Click "+ Add Definition"
Enter the Term, date and definition and click submit:
The definition is added to the list:
on the action column you can see that you have the option to edit or delete the definition.
Most information on this tab was imported from the template. If you want to edit any information, use the 3 blue dots on the right side of the field:
You have the option to edit or leave a comment to the other team members to see.
4) Term & Termination
Next, we have the Term & Termination tab, where you have to enter the Effective that of the MSA, the term date and term description, the termination description:
5) Services
Here you can add the services for this MSA. You need to add a field to describe the services. Click the "+Add Field" button:
Enter the name of the field and the description. You can add as many fields as you want:
You can use the "Click and Drag" feature to change the order of the field. Click the 6 gray dots on the left of the name of the field and rearrange the order:
You can use the 3 blue dots on the right to Edit, delete or leave a comment about the field:
6) Standards of Performance
Here you can add the Standards of Performance for this MSA. You need to add a field to describe the Standards of Performance. Click the "+Add Field" button:
Enter the name of the field and the description. You can add as many fields as you want:
As described on the previous section you can use the "Click and Drag" feature to change the order of the field. Click the 6 gray dots on the left of the name of the field and rearrange the order.
You can use the 3 blue dots on the right to Edit, delete or leave a comment about the field.
7) General Provisions
Here you can describe the Billing And Payment, Right to Audit, Confidentiality, Indemnity & Liability, Termination, Intellectual Property, Warranties, Publicity & Publication, Business Identifiers, Independent Contractor, Business Continuity, Force Majeure, No Exclusion:
You can use the toggles to hide and display the fields. When the toggle is orange, the field will be in the MSA, when it is gray, it will not.
As described on the previous section you can use the "Click and Drag" feature to change the order of the field. Click the 6 gray dots on the left of the name of the field and rearrange the order.
You can use the 3 blue dots on the right to Edit, delete or leave a comment about the field.
8) Other Provisions
Here you can add provisions you consider important to the agreement and were not on the other tabs. Click the "+ Add Field" button.
Enter the name and description of the field:
Always remember to save the modifications you did so you don't lose your work.
As described on the previous section you can use the "Click and Drag" feature to change the order of the field. Click the 6 gray dots on the left of the name of the field and rearrange the order.
You can use the 3 blue dots on the right to Edit, delete or leave a comment about the field.
9) Appendix
Here you add appendixes to your MSA. Click the "+Add Field" button:
Enter the name and description of the field:
As described on the previous section you can use the "Click and Drag" feature to change the order of the field. Click the 6 gray dots on the left of the name of the field and rearrange the order.
You can use the 3 blue dots on the right to Edit, delete or leave a comment about the field.
10) Signatures
After reviewing all tabs and making sure everything is fine, you can go to the signatures tab and mark it "Ready to sign":
Save it and wait for the firm to sign the MSA.
Related Articles
How to Create NDAs?
To create a NDA you have two options: Create an NDA and assign a consulting firm to it Go to the consulting firm profile and add an NDA there. I) Creating an NDA and assigning a consulting firm to it Click "Administrative" Click "All Contracts" Here ...How to create SoWs?
To create an SoW you have two options: Create a SoW and assign a consulting firm to it Go to the consulting firm profile and add a SoW there. I) Creating an SoW and assigning a consulting firm to it Click "Administrative" Click "All Contracts" Here ...How to create a Project?
To create a new project, click "Projects" Here you can manage all projects: To create a new project without a demand, click "Add Project": Enter the name of the project: By default, the project leader is the person who is creating the project: Select ...How to create Performance Reviews?
To create performance reviews, go to the "Panel Management": Click "Consulting Panel" Here you can manage the consulting firms you have a relationship: Go to the consulting firm profile: Click "Meetings" : Click "Add Meeting": Enter the date, the ...How to Manage SoW Settings & Templates
To access the SoW Settings: 1. Click "Settings" 2. Click "Customisation" 3. Click "SoW" The SoW screen has 3 tabs: Export History Layout Library Templates Library I) EXPORT HISTORY: Here you can set the number of pdfs you can create for one SoW. ...